Attaching Custom Letters
Using the Client Communication Manager, you can create a letter and attach it to a return in Preview Mode or in Edit Mode. See Edit Mode vs Preview Mode.
You can also add Standard Client Letters to all returns upon creation via Client Communication Preferences set in the Preferences dialog box.
To attach a letter to a return:
- With the return open, click the Forms menu; then, select Client Letter.
- From the Templates pane, double-click the desired Letter or Template.

Client Communication Manager (Federal Client Letter Template)
- Click the Attach button on the toolbar.

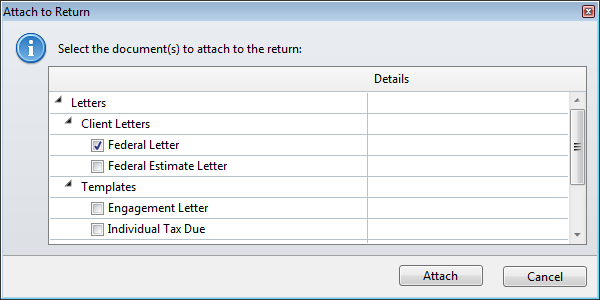
Attach to Return confirmation box
- Select which template(s) are to be attached.
- Click Attach.
Client Letters appear as Form tabs in the return and can be viewed by clicking the tab just like other forms in the return. When a client letter is displayed in an open return, the default view is Preview. To edit the letter while attached to the return, either select the Letter Options radio button or click Edit Formatting. See Modifying Standard Letters.
Client Letters cannot be edited in a return that has been marked complete. To edit the client letter after it has been attached to the return, first ensure the return is not marked complete.
See Also: